Homemade Reese’s Cups Recipe
Highlighted under: Baking Joy
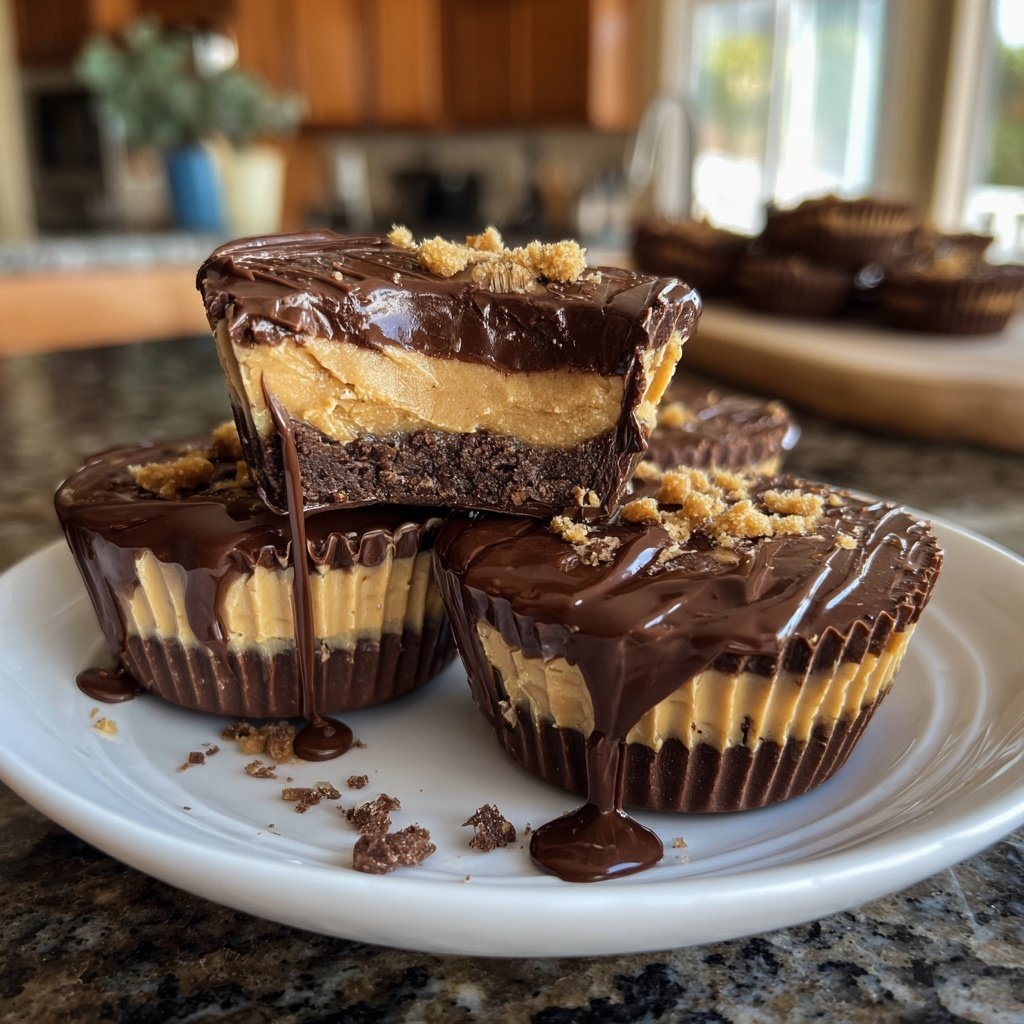
Indulge in the rich, creamy delight of homemade Reese’s Cups. Perfect for satisfying your sweet tooth or sharing with friends.

Nothing beats the joy of biting into a homemade Reese’s Cup. With a perfect blend of chocolate and peanut butter, these treats are bound to become a family favorite.
Why You’ll Love This Recipe
- Rich chocolate flavor paired with creamy peanut butter
- Customizable sweetness to suit your taste
- Perfect for celebrations or as a sweet indulgence
A Sweet Treat for Any Occasion
Homemade Reese’s Cups are not just a delightful dessert; they are versatile treats that can fit into any occasion. Whether it’s a birthday party, a holiday gathering, or simply a cozy night in, these chocolate-peanut butter delights will impress your guests and satisfy your cravings. With their rich flavor and creamy texture, they are a perfect way to elevate any celebration.
Additionally, making these cups at home allows you to control the ingredients, ensuring a treat that meets your dietary preferences. You can easily adjust the sweetness or even opt for dark chocolate instead of milk chocolate for a more intense flavor. This adaptability makes them a beloved choice for everyone in the family.
The Joy of Homemade Treats
There’s something incredibly rewarding about creating your own treats from scratch. The process of melting chocolate, mixing the peanut butter filling, and assembling the cups can be a fun activity for both adults and kids. It’s a perfect opportunity for family bonding in the kitchen, where everyone can participate in the fun of measuring, mixing, and pouring.
Moreover, homemade Reese’s Cups can also serve as a thoughtful gift. Package them in a decorative box or a mason jar for friends and family, and watch their faces light up when they receive such a personalized, delicious surprise. It’s a heartfelt way to show you care.
Tips for Perfecting Your Reese’s Cups
To ensure your homemade Reese’s Cups turn out perfectly, here are a few helpful tips. First, make sure your chocolate is melted smoothly; it should be glossy and free of lumps. Stirring it in 30-second intervals helps prevent overheating. If you find your chocolate is too thick, you can add a small amount of vegetable oil to achieve the right consistency.
When it comes to the peanut butter filling, be sure to mix it well until it’s creamy and homogeneous. This will not only enhance the flavor but also ensure a smooth, even distribution when you layer it in the cups. Lastly, let the chocolate set completely in the refrigerator before enjoying. Patience will reward you with the perfect snap and texture.
Ingredients
For the Cups
- 1 cup milk chocolate chips
- 1/2 cup creamy peanut butter
- 1/4 cup powdered sugar
- 1/2 teaspoon vanilla extract
- 1/4 cup mini chocolate chips (optional for topping)
Make sure all ingredients are at room temperature for best results.
Instructions
Melt the Chocolate
In a microwave-safe bowl, melt the milk chocolate chips in 30-second intervals, stirring in between until smooth.
Prepare the Muffin Tin
Line a muffin tin with cupcake liners. Use a spoon to pour a small amount of melted chocolate into the bottom of each liner, enough to cover the base.
Make the Peanut Butter Filling
In another bowl, mix the peanut butter, powdered sugar, and vanilla extract until well combined and creamy.
Assemble the Cups
Once the chocolate in the muffin tin has hardened, add a teaspoon of the peanut butter mixture on top of the chocolate layer. Press it down gently.
Top with More Chocolate
Pour additional melted chocolate over the peanut butter layer to cover it completely. Optionally, sprinkle mini chocolate chips on top.
Chill and Serve
Place the muffin tin in the refrigerator for about 15 minutes, or until the chocolate has set. Remove from liners and enjoy!
Store any leftovers in an airtight container in the refrigerator.
Pro Tips
- For a twist, try using dark chocolate or adding a pinch of sea salt on top before chilling.
Storage and Shelf Life
Homemade Reese’s Cups can be stored in an airtight container at room temperature for about a week. If you prefer them to last longer, you can refrigerate them, where they will stay fresh for up to two weeks. Chilling not only prolongs their shelf life but also enhances the rich flavors, making every bite even more enjoyable.
For longer storage, consider freezing your Reese’s Cups. Just make sure to place them in a freezer-safe container or bag, separating layers with parchment paper to prevent sticking. They can last up to three months in the freezer. When ready to enjoy, simply thaw them in the refrigerator for a few hours before indulging.
Variations to Try
While the classic chocolate-peanut butter combination is undeniably delicious, you can experiment with various flavors to create unique treats. For instance, try using white chocolate for the outer layer, complemented by almond or crunchy peanut butter for a delightful twist. Adding crushed pretzels or toffee bits to the peanut butter filling can also introduce a satisfying crunch.
If you’re feeling adventurous, consider infusing your chocolate with flavors such as mint or orange zest for a refreshing take on the classic. These variations will not only surprise your taste buds but also make your homemade Reese’s Cups even more delightful and memorable.
Questions About Recipes
→ Can I use natural peanut butter?
Yes, natural peanut butter will work, but it may alter the texture slightly.
→ How do I store the homemade Reese’s Cups?
Store them in an airtight container in the refrigerator for up to 2 weeks.
→ Can I freeze these cups?
Yes, you can freeze them for up to 3 months. Just allow them to thaw in the refrigerator before enjoying.
→ What can I use instead of chocolate chips?
You can use chocolate bars, melting wafers, or any chocolate of your choice.
Homemade Reese’s Cups Recipe
What You'll Need
For the Cups
- 1 cup milk chocolate chips
- 1/2 cup creamy peanut butter
- 1/4 cup powdered sugar
- 1/2 teaspoon vanilla extract
- 1/4 cup mini chocolate chips (optional for topping)
How-To Steps
In a microwave-safe bowl, melt the milk chocolate chips in 30-second intervals, stirring in between until smooth.
Line a muffin tin with cupcake liners. Use a spoon to pour a small amount of melted chocolate into the bottom of each liner, enough to cover the base.
In another bowl, mix the peanut butter, powdered sugar, and vanilla extract until well combined and creamy.
Once the chocolate in the muffin tin has hardened, add a teaspoon of the peanut butter mixture on top of the chocolate layer. Press it down gently.
Pour additional melted chocolate over the peanut butter layer to cover it completely. Optionally, sprinkle mini chocolate chips on top.
Place the muffin tin in the refrigerator for about 15 minutes, or until the chocolate has set. Remove from liners and enjoy!
Extra Tips
- For a twist, try using dark chocolate or adding a pinch of sea salt on top before chilling.
Nutritional Breakdown (Per Serving)
- Calories: 380 kcal
- Total Fat: 26g
- Saturated Fat: 15g
- Cholesterol: 195mg
- Sodium: 85mg
- Total Carbohydrates: 32g
- Dietary Fiber: 3g
- Sugars: 24g
- Protein: 6g